
Simple 6 Secrets: How To Clean A Cast Iron Dutch Oven
Introduction
A cast iron Dutch oven is a kitchen must-have, but cleaning it can be confusing. If you’ve ever struggled with stuck-on food or rust, you’re not alone. I’ve been there, trying different ways to clean mine without ruining the seasoning.
The key is knowing what works and what doesn’t. With the right steps, you can keep your Dutch oven in great shape for years. Whether you need to remove rust, clean it after cooking, or season it properly, I’ll walk you through it. Let’s make cleaning simple so your cast iron stays as good as new!
Why Proper Cleaning and Maintenance Matters?
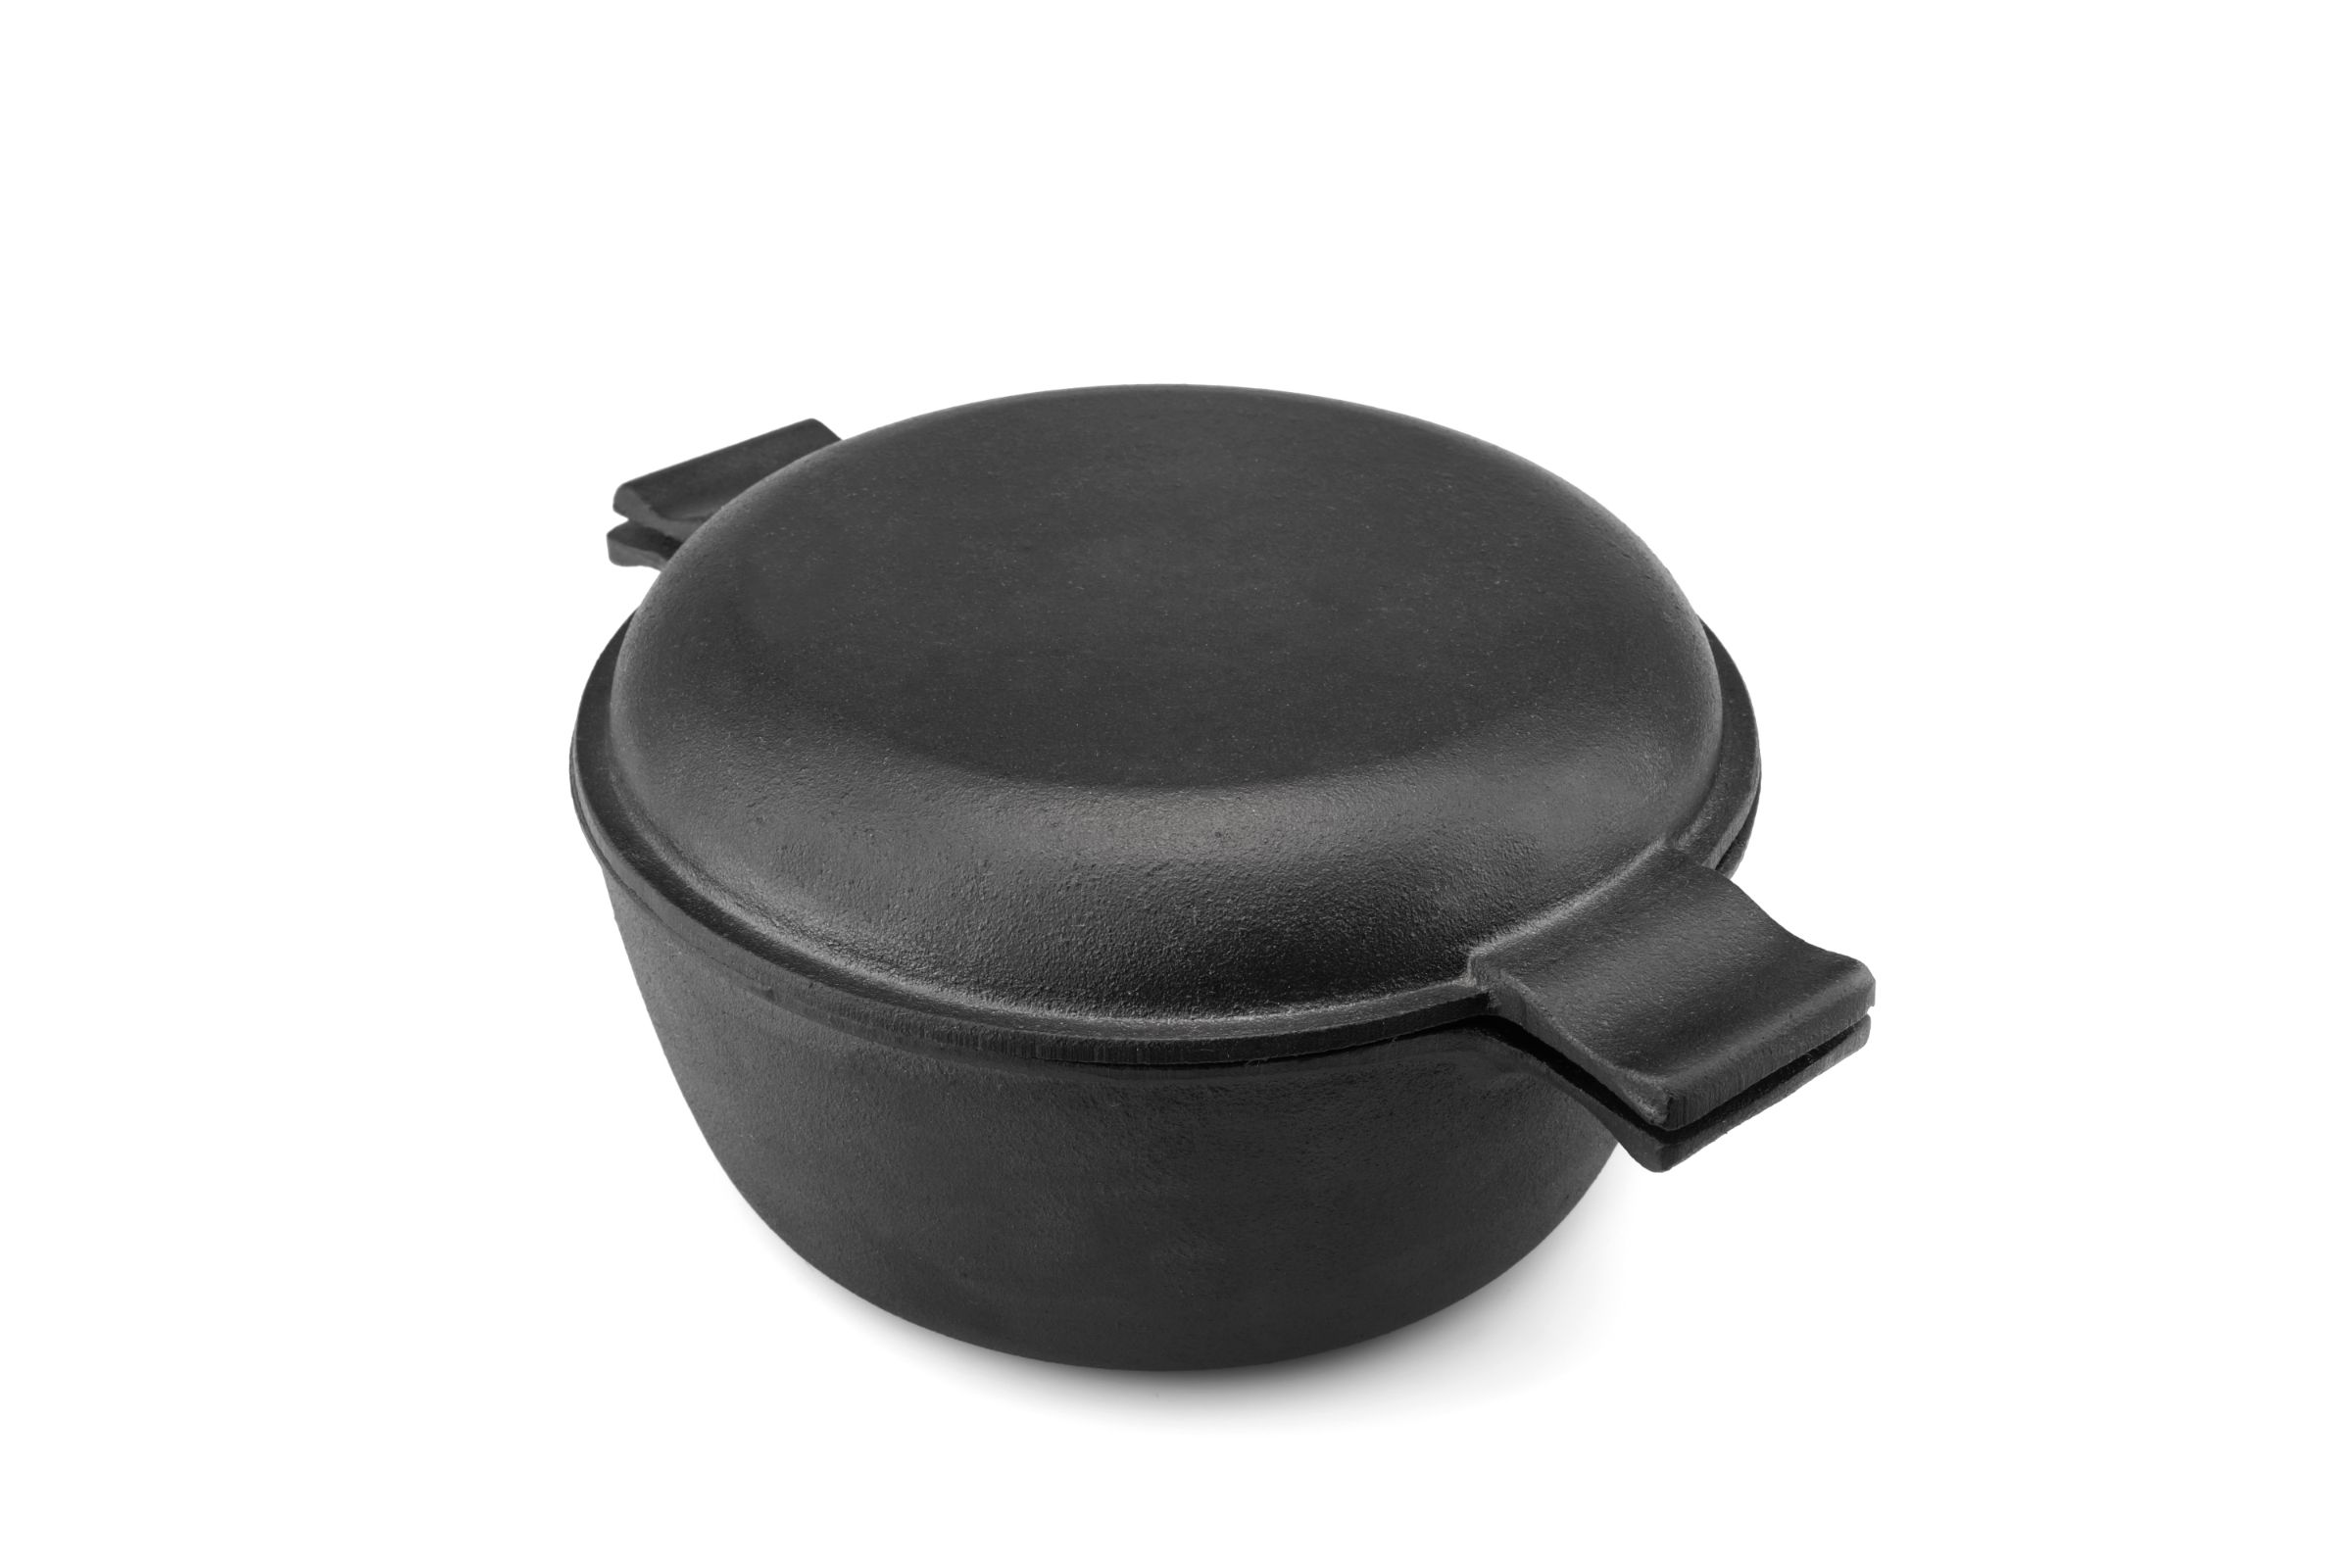
A Dutch oven made of cast iron is more than just a pot. It’s a kitchen workhorse that lasts for generations if cared for properly. But if you’ve ever dealt with rust, stuck-on food, or strange smells, you know how frustrating it can be. The good news? It stays in excellent condition with a little upkeep.
Regular cleaning stops rust. The greatest threat to cast iron is moisture. If water sits too long, rust forms fast. A simple wipe-down and a light oil coat after each use help protect it. Think of it like a leather jacket—you wouldn’t leave it soaked in water, right?
Proper care also keeps the non-stick surface strong. The more you use and maintain your Dutch oven, the better it gets. A well-seasoned pot makes cooking easy. Food slides right off, and flavors improve over time. It’s like a grill that gets better with every use.
Skipping maintenance leads to bad smells and weird-tasting food. Have you ever noticed a hint of old grease in a meal? That’s from built-up residue. Keeping your Dutch oven fresh makes sure every dish tastes right—rich, flavorful, and clean.
So, whether you’re removing rust, keeping the seasoning, or just cleaning after cooking, the right steps matter. A well-cared-for Dutch oven will reward you with years of perfect cooking. Let’s make sure yours stays in its best shape!
How to Clean a Dutch Oven Made of Cast Iron After Cooking?
Cleaning a cast iron Dutch oven doesn’t have to be a hassle. In fact, with the right steps, it’s quick and easy. The key? Clean it right after use while it’s still warm. This prevents food from sticking and stops rust before it starts. Let’s go step by step.
Step 1: Let It Cool (But Not Too Much)
You don’t want to clean it while it’s scorching hot, but don’t let it sit for hours either. A warm Dutch oven is much easier to clean than a cold one. If food is stuck, a little warmth helps loosen it.
👉 Quick tip: Never pour cold water into a hot cast iron pot—it can crack! Let it cool down naturally for a few minutes.
Step 2: Rinse with Warm Water
Skip the dishwasher. Cast iron and dishwashers don’t mix! Instead, use warm water and a sponge. Most of the time, that’s all you need.
👉 Best practice: Avoid soaking it in water. Cast iron is like a sponge—it absorbs moisture, which leads to rust.
Step 3: Scrub Gently (No Harsh Soaps!)
If there’s stubborn food, use a soft sponge or brush. A little kosher salt can act as a natural scrub without damaging the seasoning. Mild soap is okay if needed, but don’t overdo it. The more you use soap, the more you strip the seasoning.
👉 Alternative method: No sponge? Use a paper towel with salt and a few drops of water to scrub.
Step 4: Dry It Completely
After rinsing, dry your Dutch oven right away. Moisture is cast iron’s worst enemy. Use a clean towel or paper towel to wipe it dry. To be extra safe, place it on low heat for a minute or two. This ensures every drop of water evaporates.
👉 Pro tip: If you see rust forming, it means water sat too long. Dry it faster next time!
Step 5: Apply a Light Oil Coating
Once dry, rub a small amount of vegetable oil or flaxseed oil all over the inside and outside. This protects the seasoning and keeps the surface non-stick. Using a paper towel, evenly distribute it.
👉 Less is more: Too much oil can make it sticky. A thin coat is all you need!
Step 6: Store It Properly
Store your Dutch oven in a dry place with the lid slightly open. This keeps moisture from building up and permits air to circulate. If stacking with other cookware, place a paper towel inside to absorb any excess moisture.
👉 Avoid this mistake: Never store it with the lid tightly closed. Trapped moisture = rust city!
Final Thoughts
Cleaning a cast iron Dutch oven is simple when you do it the right way. Rinse with warm water, dry completely, and apply a little oil. That’s it! Take care of your Dutch oven, and it will take care of you for a lifetime.
How to Clean a Cast Iron Dutch Oven That Has Burned

We’ve all been there—one minute you’re cooking a tasty meal, and the next, you’re staring at a blackened mess. Don’t worry! I’ve got easy ways to clean your cast iron Dutch oven without harming the seasoning. Let’s get it looking brand new!
Step 1: Skip the Soaking
Never soak your cast iron Dutch oven overnight. Water causes rust, which is a bigger problem. Instead, try these simple tricks.
👉 Quick fix: If the burn isn’t too bad, fill the pot with warm water and let it sit while you eat. This helps loosen food before scrubbing.
Step 2: Scrub with Kosher Salt
For light burns, a kosher salt scrub works great.
- Sprinkle a few tablespoons of kosher salt in the Dutch oven.
- Add a little vegetable or canola oil.
- Scrub with a paper towel or soft cloth in circles.
- Wipe clean and rinse with warm water.
👉 Why it works: Salt is rough enough to clean but won’t damage the seasoning.
Step 3: Boil Water for Stubborn Burns
If salt isn’t enough, try boiling water.
- Fill the pot with water, covering the burnt spots.
- For 5 to 10 minutes, bring to a slow boil.
- Scrape off burnt bits with a wooden spoon.
- Pour out the water and wipe clean.
👉 Pro tip: Heat helps loosen tough residue without damage.
Step 4: Use Baking Soda Paste
For deep burns, baking soda works wonders.
- Mix 2 tablespoons of baking soda with water to make a paste.
- Spread it on the burnt areas.
- Let it sit for 15-20 minutes.
- Scrub with a soft brush or sponge.
- Rinse well and dry.
👉 Why it works: Baking soda lifts stains without harming the seasoning.
Step 5: Try Vinegar for Tough Cases
For the worst burns, vinegar can help.
- Mix equal parts white vinegar and water in the pot.
- Let it sit for 5-10 minutes.
- Scrub with a sponge.
- Rinse and dry completely.
🚨 Warning: Don’t leave vinegar too long—it can strip seasoning. After cleaning, rub a little oil on the pot.
Step 6: Reseason If Needed
If cleaning removed seasoning, don’t worry—it’s easy to fix.
- Rub a thin layer of flaxseed or vegetable oil on the pot.
- Place it upside down in a 450°F (232°C) oven for one hour.
- Let it cool before storing.
👉 Final tip: If your pot looks dry after cleaning, rub on a little oil before storing.
Final Thoughts
Burnt food isn’t a disaster. Use salt, boiling water, baking soda, or vinegar to clean your Dutch oven. Dry it well and season when needed.
A well-cared-for cast iron Dutch oven lasts for generations. Take care of it, and it’ll take care of your cooking!
How to Clean a Dutch Oven Made of Rusty Cast Iron?
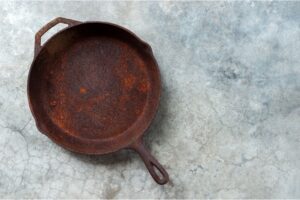
Rust on a cast iron Dutch oven isn’t the end of the world. It might look bad, but with the right steps, you can restore your pot to its former glory. Whether it’s a few orange spots or a full layer of rust, I’ll show you how to fix it. Let’s dive in!
Step 1: Assess the Rust
Not all rust is the same. Light rust? Easy fix. Heavy rust that’s flaky? You might need a bit more effort. The key is catching it early before it eats into the metal.
👉 Quick fix: If you notice just a few rust spots, a simple scrub with a stiff brush or steel wool can do the trick.
Step 2: Scrub It Off
For light to moderate rust, grab some steel wool or a stiff brush and start scrubbing. You don’t need harsh chemicals—just a little elbow grease.
What you need:
✔ Steel wool or a stiff brush
✔ Warm water
✔ Mild dish soap (optional)
- Scrub the rusty areas using firm pressure.
- If needed, add a drop of mild dish soap.
- Rinse thoroughly with warm water.
🚨 Important: Never use a dishwasher—it can make rust worse!
Step 3: Vinegar Soak for Stubborn Rust
If scrubbing isn’t enough, vinegar is your best friend. It helps dissolve rust without damaging the cast iron.
What you need:
✔ White vinegar
✔ Water
✔ Large container or sink
- Mix equal parts vinegar and water.
- Submerge the Dutch oven for no more than an hour.
- Check every 20 minutes to prevent overexposure (vinegar can strip seasoning).
- Remove and scrub off the loosened rust.
- Rinse thoroughly.
👉 Pro tip: If the whole pot is rusty, flip it halfway through to ensure even soaking.
Step 4: Baking Soda Paste for Gentle Removal
If vinegar isn’t your thing, baking soda works too. It’s gentler and won’t strip as much seasoning.
What you need:
Baking soda, water, and a soft sponge
- To form a thick paste, combine water and baking soda.
- Spread it over rusty spots and let sit for 15 minutes.
- Scrub with a soft sponge or brush.
- Rinse and dry completely.
👉 Why it works: Baking soda neutralizes acids and gently lifts rust without damaging the cast iron.
Step 5: Dry It Completely
Moisture is rust’s best friend. After rinsing, dry your Dutch oven immediately.
✔ Remove excess water with a clean cloth.
✔ Cook on low heat or in a warm oven for a few minutes.
✔ Wait until completely dry before proceeding.
🚨 Don’t skip this: Even a few drops of water can start new rust spots!
Step 6: Reseason Your Dutch Oven
Now that the rust is gone, it’s time to protect your cast iron.
What you need:
✔ Canola, flaxseed, or vegetable oil
Oven (or stovetop for minor touch-ups) ✔ Paper towel
- Apply a thin layer of oil inside and out.
- Wipe off any excess—too much oil makes it sticky.
- Bake upside down at 450°F (232°C) for one hour.
- Let it cool in the oven before storing.
👉 Pro tip: Place aluminum foil on the lower rack to catch any drips.
Preventing Future Rust
Now that your Dutch oven is rust-free, keep it that way! Here’s how:
✔ Always dry it completely after washing. ✔ To avoid moisture accumulation, store with the lid slightly open. ✔ After each usage, lightly reapply oil. ✔ Steer clear of prolonged cooking of extremely acidic foods (like tomatoes). Make frequent use of it! The more you cook with the seasoning, the better it gets.
Final Thoughts
Rust doesn’t mean your Dutch oven is ruined—it just needs some TLC. Whether you scrub, soak, or use baking soda, you can bring it back to life. Keep it dry, oiled, and well-seasoned, and it’ll last for generations.
Have you dealt with rust on your Dutch oven? What worked best for you? Share your tips in the comments!
Cleaning Instructions for a Lodge Cast Iron Dutch Oven
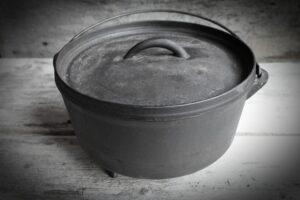
Lodge cast iron Dutch ovens are special—they come pre-seasoned, but that doesn’t mean they’re maintenance-free. I’ve had my Lodge for years, and let me tell you, treating it right makes all the difference. Here’s my tried-and-true method for keeping it in perfect shape.
👉 Quick Answer: To clean a Lodge cast iron Dutch oven, use warm water and a soft brush or chainmail scrubber, dry thoroughly, and apply a thin coat of oil. Never use harsh detergents or the dishwasher.
First Things First: Daily Cleaning After each use, let your Lodge cool until it’s warm but not hot. I learned this the hard way—cold water on a hot pot can crack the iron! Use warm water and a soft brush or chainmail scrubber (I love my chainmail for tough spots). Most times, that’s all you need.
👉 Pro Tip: Lodge’s pre-seasoned coating is tough, but gentle cleaning helps it last longer.
Dealing with Stuck-On Food Sometimes food really sticks—don’t panic! Here’s my favorite trick: sprinkle some kosher salt in the pot and scrub with a damp cloth. The salt acts like a natural scrubber without harming Lodge’s seasoning. For really stubborn spots, boil a little water in the pot for a few minutes. Works like magic!
Protecting the Pre-Seasoned Surface Lodge does the initial seasoning for you, but maintaining it is key. After cleaning:
- Dry it completely (I use a clean kitchen towel)
- Heat it briefly on the stove to remove any moisture
- Apply a thin layer of oil—just enough to make it shine
- Let it cool before storing
👉 Remember: A well-maintained Lodge Dutch oven gets better with every use!
Storage Secrets I store my Lodge with the lid slightly cracked open—learned that from my grandmother. It prevents moisture from getting trapped inside. If you’re stacking pots, put a paper towel between them to protect the seasoning.
When to Re-Season Even with perfect care, sometimes you’ll need to re-season. Watch for:
- Dull, gray areas
- Food starting to stick
- Uneven cooking spots
If you spot these signs, it’s time for a full seasoning session. Don’t worry—it’s just part of owning cast iron!
Final Thoughts Your Lodge Dutch oven isn’t just a pot—it’s an investment that gets better with age. Treat it right, and it’ll become your favorite piece of cookware. Trust me, the flavor it adds to dishes is worth every bit of care you put in!
🚨 Important: Never put your Lodge in the dishwasher or leave it soaking overnight. These are the quickest ways to ruin that perfect pre-seasoned surface!
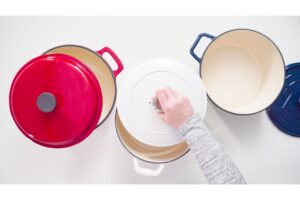
How to Clean an Enameled Cast Iron Dutch Oven (Le Creuset & Others)
I was scared to clean my Le Creuset at first. That cream inside looked so easy to stain. But now I know better. These pots are tough! Let me share what I’ve learned from using mine for years.
👉 Quick Tip: Use warm, soapy water and a soft sponge each day. For big stains, try baking soda. Don’t use metal tools – they can scratch.
Easy Daily Cleaning Good news! You can use soap on these pots. The enamel coat makes it safe. Let it cool first – hot pots don’t like cold water. Then wash with warm, soapy water. Use a soft sponge. Think of it like washing a nice car – be gentle but thorough.
Getting Rid of Tough Stains Did your red sauce leave marks? Or did food burn and stain? I’ve been there! Here’s what works for me. Put some baking soda in the pot. Add just a bit of water to make it like paste. Wait 15-20 minutes. Then wipe with a soft sponge. Most stains come right off!
👉 My Best Trick: For really bad stains, fill the pot with water. Add some baking soda. Let it boil. Then simmer for 15-20 minutes. The stains will wipe away easy.
What Not to Do I learned these tips the hard way:
- No metal scrubbers
- No harsh soaps
- Don’t change heat too fast
- Don’t bang metal spoons on the sides
- Don’t slide it on the stove
Keeping the Outside Clean The pretty outside needs care too. Warm, soapy water works great. For tough spots, I use Bar Keepers Friend. Just be gentle. Like a nice car, good care keeps it looking new.
If Things Go Wrong Got a chip? Don’t worry! Small chips won’t hurt your pot. Just keep that spot clean and dry. Many brands have good rules about fixes. I once took my chipped pot to the store. They helped me fix it!
Smart Storage Here’s a good tip: put a paper towel between the pot and lid when you store it. This keeps water away. It saves the edge too. If you must stack pots, put a cloth between them.
These pots are strong. But treat them well, and they last forever. My gran’s Le Creuset still looks great. That shows how good they are!
The best part? You can cook any food in them. Even foods with lots of acid, like tomato sauce. Try that in plain cast iron, and you’ll have trouble!
Tips for Great Results:
- Wash right after use
- Let hot pots cool down first
- Use soft tools to clean
- Keep the lid loose for air flow
- Clean spills when they happen
I use mine almost each day. It makes the best soups! With good care, yours will last just as long. Have fun cooking!
Remember: These pots aren’t just tools. They’re part of your kitchen family. Take good care of them. They’ll help make great meals for years to come.
Want my last tip? Don’t stress too much. These pots are made to work hard. Just be kind to them, and they’ll be kind to your food!
Step-by-Step Instructions for Seasoning a Cast Iron Dutch Oven
Let me tell you about seasoning your Dutch oven. I’ve done this many times! It’s like giving your pot a shield that keeps food from sticking. I’ll demonstrate how to do it correctly.
👉 Quick Tip: To season a cast iron Dutch oven, clean it well, dry it, rub oil all over, and bake it at 450°F for one hour. Do this a few times for the best results.
Why Season Your Pot? Think of seasoning like giving your pot a non-stick coat. Every time you cook, this coat gets better. Food won’t stick. The pot won’t rust. And your food will taste great! My first Dutch oven had no seasoning. What a mess! Now I know better.
What You’ll Need:
- Your Dutch oven (clean and dry)
- Oil (I like flax oil)
- Paper towels
- Your oven
- Foil (to catch drips)
Step 1: Start Clean Wash your pot well. Use soap if it’s new. Dry it all the way. Put it on low heat to make sure it’s super dry. Water is not your friend here!
Step 2: Pick Your Oil I use flax oil. It works great! But you can use:
- Veggie oil
- Canola oil
- Grape seed oil Any oil that won’t go bad works fine.
Step 3: Oil It Up Put a tiny bit of oil in the pot. Inside and out, rub it all over. Use a paper towel. Make it thin! Too much oil makes it sticky.
👉 Pro Tip: If you think you used enough oil, wipe some off. Less is more!
Step 4: Bake It Heat your oven to 450°F. Turn your pot upside down. Put foil on the bottom rack to catch drips. Bake for one hour. Let it cool in the oven.
Step 5: Do It Again One coat is good. Three coats are better! Each time makes it stronger. I do three coats when the pot is new. After that, I season once a year.
Tips for Success:
- Keep the oil coat thin
- Don’t skip any spots
- Let it cool slow
- Do this on a nice day – it can smoke a bit
- Open a window
Signs You Need to Season:
- Food sticks a lot
- The pot looks dull
- You see rust
- After deep cleaning
My Best Tips: I messed up my first try. The oil was too thick! Now I know better. Thin coats work best. And don’t worry if it’s not perfect. Each time you cook, it gets better!
Remember:
- Never use old oil
- Keep it thin
- Be patient
- Let it cool slow
This might seem like a lot. But it’s worth it! A good season job means years of great cooking. Your Dutch oven will thank you!
Have fun with it! Soon you’ll have a pot that cooks like a dream. Just like mine does now!
Want to test your seasoning? Cook an egg. If it slides around, you did great! Ready to start cooking?
Common Problems and Solutions
Let’s talk about those tricky Dutch oven problems we all face. Trust me, I’ve seen (and fixed) them all! Here’s how to handle the most common issues that pop up.
Rust Spots 👉 Quick Fix: Found some orange spots? Don’t panic! Small rust spots are easy to fix with steel wool and a little elbow grease.
You know that sinking feeling when you spot rust? I had it too when I first saw orange spots on my pot. But here’s the good news – rust isn’t forever! Scrub those spots with steel wool, dry the pot well, and add a thin coat of oil. Need more help? Head back to our rust removal section for the full fix.
Sticky Residue 👉 Quick Fix: Got a sticky pot? It’s usually from too much oil during seasoning. Scrub with salt, rewash, and season with a thinner oil layer.
I made this mistake when I first started – I thought more oil meant better seasoning. Wrong! If your pot feels tacky, it’s saying “too much oil!” Try seasoning it again with a tiny bit of oil after carefully cleaning it with warm water and kosher salt. Remember: thin layers win the game!
Uneven Seasoning 👉 Quick Fix: Patchy seasoning? Use your pot more often! Cook fatty foods like bacon to build up the coating naturally.
See those spots where some areas look darker than others? Been there! The best fix is actually the most fun – just cook more! Fry up some bacon, make cornbread, cook anything with a bit of fat. Each time you cook, that seasoning gets more even. My pot looked like a patchwork quilt at first, but now it’s perfect!
Burnt Food Stuck Like Glue 👉 Quick Fix: For stubborn burnt bits, add water to cover the bottom, bring to a simmer, and scrape gently with a wooden spoon.
We’ve all had that moment – you get distracted and suddenly smell something burning. Don’t stress! Pour in some water, let it simmer for about 10 minutes, and those burnt bits will lift right off. I once saved a badly burnt chili this way. The pot looked hopeless, but this trick made it good as new!
Enamel Chips and Cracks 👉 Quick Fix: Small chips? Keep cooking! Just avoid metal utensils near the chip. Big cracks? Time to contact the manufacturer.
Finding a chip in your beautiful enamel can feel awful. I nearly cried when I chipped my Le Creuset! But here’s what I learned: tiny chips aren’t the end. Keep the chipped area clean and dry, and avoid metal tools there. For bigger cracks, reach out to the manufacturer – many have great warranty programs.
Remember: Every problem has a fix! These pots are tough – they can handle a few bumps along the way. Just like cooking, it’s all about learning as you go. What seemed like disasters at first are now just funny stories to tell!
Have you run into other problems with your Dutch oven? Leave a comment below with your experiences and solutions! We all learn from each other’s kitchen adventures.
How to Clean and Maintain a Dutch Oven Over Time
Let me share what I’ve learned about keeping a Dutch oven in great shape year after year. Think of it like caring for a family heirloom – a little love goes a long way!
👉 Quick Answer: To maintain a Dutch oven long-term, clean it after each use, store it properly with the lid cracked open, and reseason regularly. Daily care prevents most problems before they start.
Daily Care Routine You know what makes the biggest difference? Those little things you do each day. I learned this from my mom – she’s had her Dutch oven for 30 years! After cooking, let it cool a bit, wash it warm (not hot), dry it well, and add that tiny bit of oil. It takes five minutes, but those five minutes keep your pot cooking great for years.
Weekly Check-Up Once a week, give your pot a good once-over. Look for any rust spots or dull areas. I do this every Sunday – it’s like giving your car a quick check for problems. Catch issues early, and they’re so much easier to fix!
Storage Smarts Where and how you store your Dutch oven matters big time! I learned this the hard way when I stacked mine with other pots – hello, chips and scratches! Here’s what works:
- Keep it in a dry cabinet
- Crack the lid open (I use a paper towel)
- Never stack without protection
- Use a cloth or liner if you must stack
Common Mistakes to Dodge Trust me, I’ve made them all! Here are the biggies to avoid:
- Soaking too long in water
- Using metal tools on enamel
- Heating empty pots
- Storing with trapped moisture
- Using harsh scrubbers
Seasonal Deep Care Every few months, give your pot some extra attention. For regular cast iron, do a full seasoning. For enameled pots, check the handles and knobs. I mark these days on my calendar – weird, maybe, but it works!
Signs Your Pot Needs Love Watch for these warning signs:
- Food sticking more than usual
- Dull or patchy spots
- Rust specks appearing
- Slower heating
- Uneven cooking
My grandmother always said, “Take care of your tools, and they’ll take care of you.” After years of using Dutch ovens, I know she was right! These pots aren’t just cookware – they’re kitchen partners that get better with age.
Remember: Good care isn’t about being perfect. It’s about being consistent. Do the small things right, and your Dutch oven will serve up amazing meals for generations.
What’s your best tip for keeping your Dutch oven in shape? Share below – we all learn from each other’s kitchen wisdom!
Tips from Experience
I want to share what I know about Dutch ovens. I’ve learned so much from using mine! These tips come from my own kitchen. Some I learned the hard way!
Best Cleaning Tools 👉 Quick Tip: My chain scrubber is the best thing I ever bought. It’s soft but strong. It gets food off fast.
Want to know what’s funny? I once thought I had to buy fancy tools. Now I keep it simple:
- A chain scrubber (you need one!)
- A soft brush for daily use
- Plain salt (it scrubs great)
- Old towels just for drying
- Wood tools for scraping (flat ones work best)
I don’t use green pads now. I used to, but they made tiny marks on my pot. Don’t make my same choice!
Recommended Products 👉 Quick Tip: Keep it basic. Good oil, salt, and soda do most of the work.
Here’s what I always keep near my pot:
- Flax oil to seal it (costs more but works best)
- Bar Friend for smooth pots (it’s quite soft)
- White vinegar (cheap kinds work fine)
- Big salt (I like Diamond best)
- Baking soda (buy lots—you’ll use it!)
Time-Saving Tips 👉 Quick Tip: Clean your pot while it’s warm. Not hot! Just warm. It’s way faster.
Want my best time tip? Clean while the pot’s still warm. Not hot! Just warm so food comes off fast. Think of it like doing dishes right after you eat. So much better than waiting!
Here are more quick ways I save time:
- Keep a dry towel by your stove
- Put paper in the pot when you store it
- Seal more than one pot at once
- Let the warm oven dry your pot more
- Keep all your tools in one spot
Pro Care Tips 👉 Quick Tip: Chefs use these pots each day. They don’t get rust. Why? They never store wet pots.
My chef friend taught me this: after you wash, put the pot on the warm stove. The heat left there dries it all. Smart, right?
More tips I’ve learned:
- Cook fat foods in new pots to seal them
- Use wood tools most times
- Keep the top open a bit (I use a wood spoon)
- Oil warm pots—it works better
- Seal the top as much as the pot
These tips come from real use! I’ve had burns. I’ve seen rust. I made these mistakes so you won’t have to. Keep at it! Your pot gets better each time. You will too!
My Last Tip: Don’t worry too much. These pots are strong! Just be nice to them, and they’ll make great food for years. That’s what I love most about mine.
Want to know the best part? Each time you use your pot, you learn more. Soon you’ll have your own tips to share. That’s how we all get better at this!
FAQs: How to Clean a Cast Iron Dutch Oven
1. How do you clean a Dutch oven cast iron pot properly?
To clean a cast iron Dutch oven, rinse with warm water, scrub with a soft brush, and dry completely. Oil should be applied sparingly to avoid corrosion. Avoid soaking in water.
2. Can you clean a cast iron Dutch oven with soap?
Yes, mild soap is safe for cleaning cast iron. Use a small amount, rinse well, and dry immediately. Reapply oil after washing to maintain the seasoning.
3. What is the best way to remove burnt-on food from a Dutch oven?
Scrub with kosher salt and oil, or boil water inside the pot to loosen food. For stubborn stains, use a baking soda paste and scrub gently with a sponge.
4. How do you clean a Lodge enamel Dutch oven?
Use warm water and mild dish soap. Avoid metal scrubbers to protect the enamel. For stains, soak with a baking soda solution and gently scrub.
5. How do you remove black stains from an enameled Dutch oven?
Make a paste with baking soda and water, apply it to stains, and let it sit. Scrub gently with a non-abrasive sponge. Rinse thoroughly and dry.
Conclusion
I love my cast iron pot! When I first got it, I was a bit scared. Now I know how to care for it well. It’s not hard at all. Let me show you what I’ve found.
👉 Quick Tip: Just wash with warm water. Dry it well. Add a thin coat of oil. Do this each day. Your pot will last and last!
Want to hear what I did wrong? I left my pot in water once. The next day, it had rust. But here’s the good news! I got rid of that rust fast. Now I know these pots can take a lot. They’re strong. They last a long time. They just need some love.
Look at what we’ve learned:
- Wash your pot each day
- Rust is quick to fix
- Use makes it good
- Keep it dry when stored
- All pots are tough
Want to know what’s fun? Each time you cook, your pot gets more smooth! The food slips right off. Each meal tastes great. My gran’s pot is old – like, real old. It makes the best food I know. That’s what good care can do!
Don’t fret too much. Just start small. Learn as you go. Have fun! This pot’s not just for food. It’s your pal in the room where you cook. It helps you make good meals. Think of all the good times you’ll have!
Share what you know! Tell us what works! Ask what you need! We’re all here to help. Good food brings us all close. Let’s make more of it!
To Know more about How to Clean Cast Iron Griddle on Gas Stove – Astonishing Hack!, Please visit our Blogs section
External Source for more info
2 thoughts on “Simple 6 Secrets: How To Clean A Cast Iron Dutch Oven”